Today it’s all about the basics. Basics. Basics.
I hope you can find a few minutes to read this text. The following is the BASICS of my philosophy – the base of the pyramid – the foundation on which everything stands!
I start with this: Every day thousands of videos are posted on social networks like Facebook, Instagram and co. (I mean videos specifically about movement), which often show the limits of human abilities and skills (acrobatic artists, CrossFit elite, martial arts legends, etc.). You watch these videos and let yourself be carried away and inspired. I’m not excluding myself here, by the way. I also post videos that show special skills or similar – often at a very advanced level. Such videos bring reach. Sometimes – and this is what I like to hear the most – they also inspire other people to move more themselves or to become more body-conscious in general. Great at first.
HERE is where it starts to get exciting. I very often see that these people then go to sports courses, undergo boot camps, jog daily etc. and are surprised that their joints hurt, for example. “Probably sore muscles” or “It has to be like that, you have to feel sport!” – until it doesn’t go away or serious problems arise. WHAT IS MISSING?
The basics.
Your body can do so much. Or: your body could do so much. Because what it can do well is adapt. Being inactive for hours every day, not moving or stressing the joints, posture (or rather poor posture) – THAT leaves its mark. Your body adapts to this – it becomes resistant to stress. If you go to demanding courses, etc. in this way, your body will also show you this (see above) …
On a side note, we live in a time where performance is paramount (maximum weight, time, being the best, etc.), which exacerbates this phenomenon. I know too many my age who are at the END of their sporting careers – usually due to injury!
WHAT TO DO? Preferably no sport? No more exercise at all?
Not like that either.
But if you want to stay functional in the long term, you should take care of the basic functions of your body. This is not as exciting as lifting weights, acrobatics or gymnastics – but it is necessary.
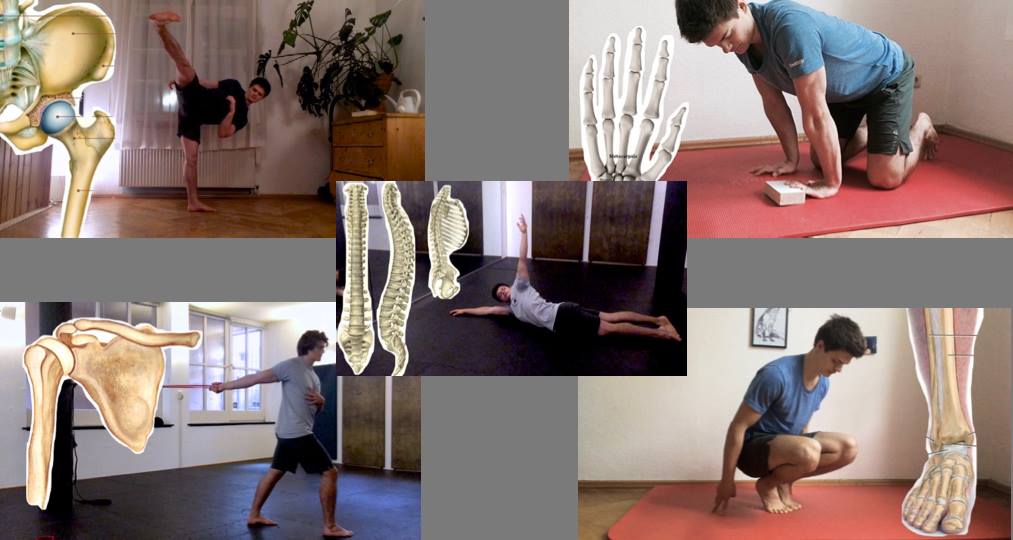
That’s why I created the BULLETPROOF BODY series. Wrist, ankle, hip, spine and now shoulders. Simple exercises to prepare your joints for movement, applicable daily.
Your body will thank you!
Reawaken Your Feet
In our modern world, shoes with thick soles, insoles and the like have become almost standard. Often sleep is the only time when shoes are not worn.
What is problematic about this?
Among other things:
– Passive support structures (e.g. the reinforced heel part of the shoe) cause atrophy of the muscles that should actually do the supporting work.
– resulting postural weaknesses or even damage, such as a collapsed arch (which, by the way, can affect the entire statics/posture and lead to pain)
– Insufficient ventilation of the feet (bacteria love that…)
– Saponified ankle joints/ lack of mobility/ instability/ loss of coordination/ …..
It’s actually quite simple: take off your shoes more often and walk barefoot (you don’t have to go to work barefoot, it’s enough to say take off your shoes and socks at home).
The exercises in the video are meant to help you wake up your feet, build up the muscles that support your feet and ankles, improve the coordination of your feet and relieve stiffness/”shortening”.
While you can do these exercises daily, two to three times a week is usually enough.
Wrist Routine
This article is in addition to my video to give a little more insight into my wrist routine. I use this sequence to either warm up before a wrist and finger workout or as an extra session to specifically work on my strength and flexibility.
The routine is really suitable for anyone who puts stress on their wrist – in sport or everyday life – and is therefore looking for exercises that specifically address this issue.
So if you are a gymnast, weight lifter, acrobat, crossfit athlete, dancer, climber, hand balancer, etc. – try it out and see what benefits you feel when you incorporate this routine into your training.
Try this routine and see how strong, mobile and stable your wrist becomes! If you really have problems, you can use this routine to warm up before each of your workouts. For serious problems, please consult your doctor beforehand!
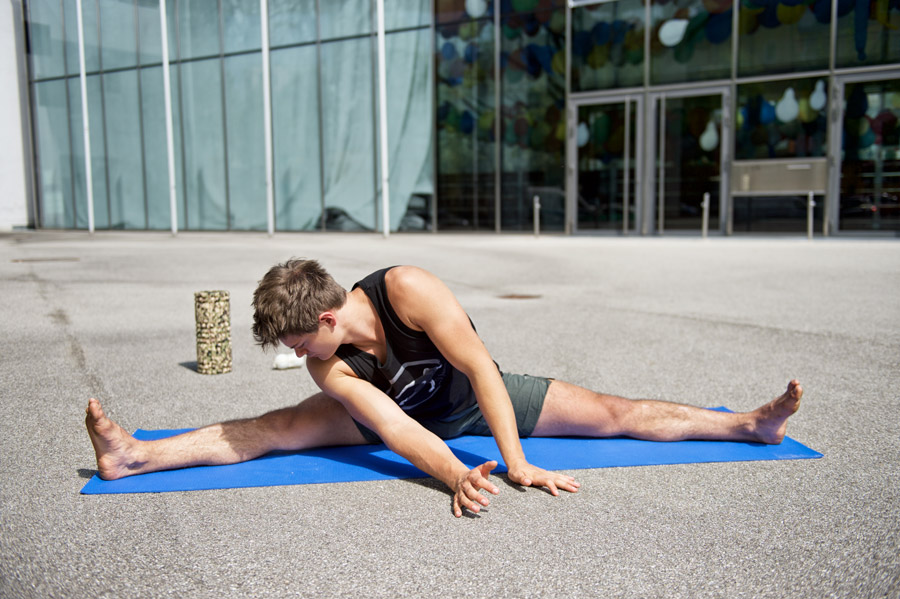
Free your Hips
More specifically, the exercises aim to increase the ACTIVE range of motion.
In general, a distinction is made between an anatomical (through passive movement = “stretching”) and a physiological (through active movement = muscle work) movement limit of a joint, whereby the anatomical movement limit is greater. However, increasing the physiological movement limit (through active movement) is necessary for very many movements (e.g.: kick in martial arts, many elements in gymnastics).
More about this in my articles on flexibility.
As these exercises are indeed somewhat strenuous and very tiring for the working muscles I would recommend for a start:
2-4 rounds with about 20 seconds of working time while warmed up. If an exercise is too difficult, try holding on to something or supporting yourself on the floor.
Free Your Hips Level 1:
Free Your Hips Level 2:
Free Your Hips Level 3:
Incorporate these exercises into your training more often and you will notice how quickly active mobility will improve!
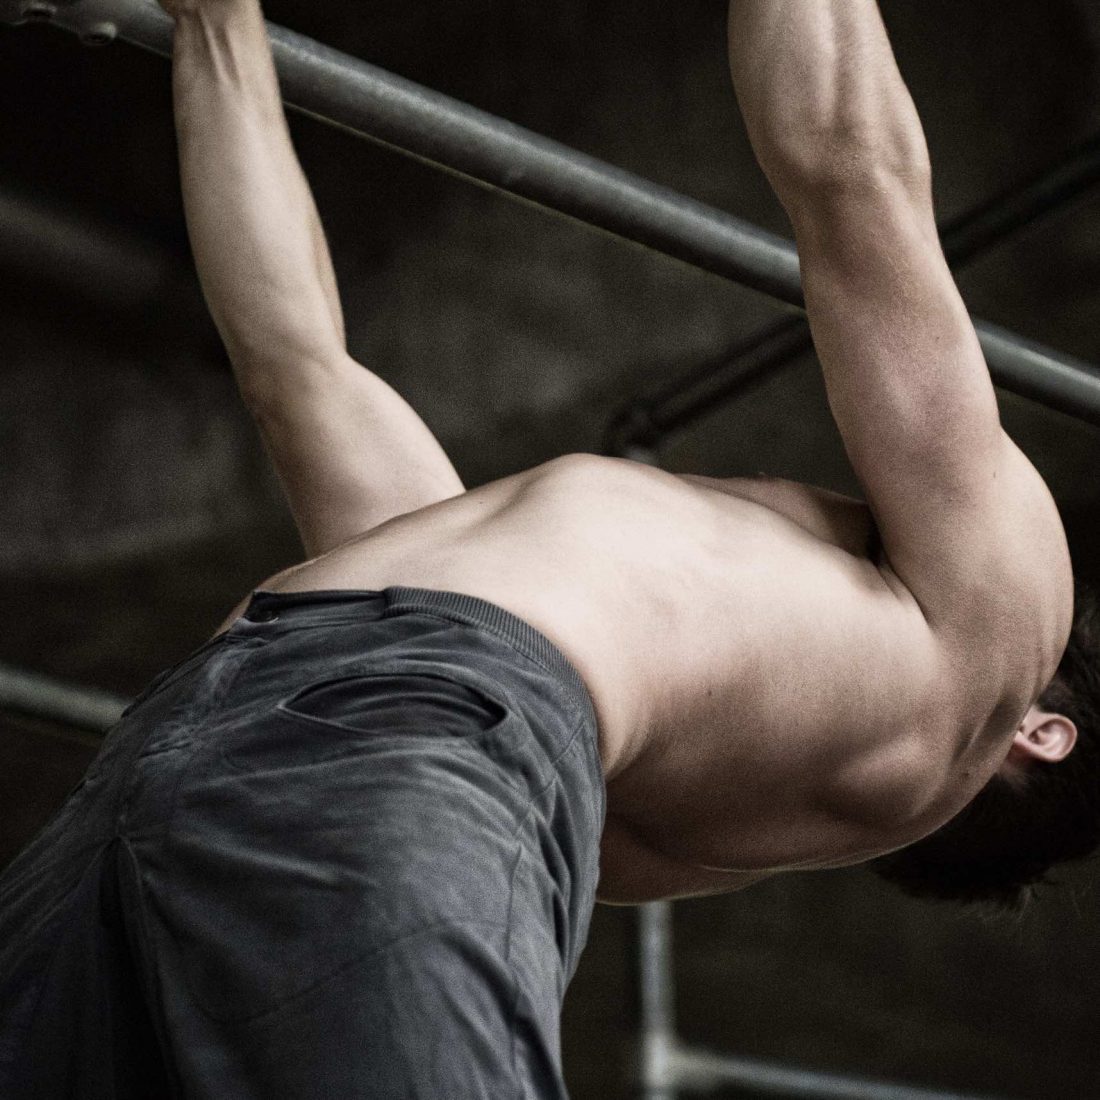
Bulletproof Shoulders
The shoulder joint is a joint that is mainly muscularly secured – it has to be, because the glenoid cavity is much smaller than the condyle of the humerus.
This fact allows a very large freedom of movement of the joint – but also an increased risk of injury.
Many people can relate to this: Restricted movement, a little twinge here and there, a slight pull there. Then it’s often “impingement”, “frozen shoulder” and often: sports break.
To prevent this from happening in the first place, I recommend preventive exercises to strengthen/mobilise the shoulder joint (especially for sports/everyday/work movements with a high shoulder load).
!!! DISCLAIMER: If you have problems with your shoulder, the exercises CAN help, but they can also make the problems WORSE. Common sense is needed here: start very slowly and carefully and clarify beforehand which movements you should better leave for the time being. !!!
Keypoints:
– Work in the higher repetition range
– Mechanics and execution before weight
– before training session to activate / after training session to strengthen
– if in doubt, get help from trainer
Another four of my favorite exercises.
You are as Old as your Spine
In this part of the series I show you very simple movements that you can do anytime and anywhere to loosen up your spine and the muscles around it.
Often the muscles of the spine are loaded on one side, namely in a stabilising position. Keep your back straight UNDER ALL CIRCUMSTANCES! Although this is important under high loads/in many situations to protect our intervertebral discs/spinal cord/nerves/vertebral bodies, the spine should also be moved!
The spinal column consists of 24 free vertebrae, between each vertebra sits an intervertebral disc, which, among other things, distributes the pressure acting on the vertebral bodies. Each vertebra is equipped with joint surfaces and thus allows movement between the individual segments. Optimally, each vertebral joint participates, for example, in a flexion of the spine, which distributes the pressure evenly over the vertebrae, or the intervertebral discs.
If your spine has become stiff in some places due to non-movement or one-sided loading, i.e. if several vertebrae move as a unit instead of individually as intended, the forces are no longer distributed proportionally, but are higher on some vertebrae and their intervertebral discs than on others.
Back problems caused by this are not uncommon.
You can do the exercises all at once or put together a selection for yourself to do before your workout, as a warm-up, as a cool-down, after getting up, etc.
Some freeform spinal movements.
Susan Harper of Continuum Movement with a demonstration showing how fluid and smooth spinal movement can be …
On that note: Stay Loose!!
Nil